Back in the days of 2D animation, the modelsheet was a way of showing what the character looked like, so that every animator would know how to draw it "On Model". There are a variety of modelsheets to choose from, everything from Construction, Turnarounds, Body poses, Expressions, Size comparisons, etc. Below are examples of these different formats.
Construction Modelsheets: Show how the character is built from simple shapes and how many heads tall it is as a form of measurement. The famous Fleischer characters below shows this, but also combine facial expressions and slight turnaround poses.


Construction Modelsheets: Show how the character is built from simple shapes and how many heads tall it is as a form of measurement. The famous Fleischer characters below shows this, but also combine facial expressions and slight turnaround poses.
I think the Popeye modelsheet below was done later since his head is measured differently making him only 5 heads tall, rather than the above showing him at 6 1/2 heads tall.
The above images came from Leslie Cabarga's great book " The Fleischer Story". It has a lot of nice artwork from the golden age of animation and tells the history of the Fleischer Studios.
Here's some more Construction modelsheets from Animaniacs, with both front and back views. You can see exactly what shapes are used to build up these characters, making it easier to learn how to draw them correctly.


 There are a few notes explaining how to draw this character. The Lead Animator treated the character as a "skinny guy in a big suit". Here is a construction drawing of a rough turnaround of the Wolf's head...


Do you notice anything missing from the above models of the characters? I'll give you a hint, something is missing from Yakko and Wakko's faces in these designs. Can you guess what it is?
Here's a construction model of one of my favorite characters, Slappy Squirrel.
Construction Modelsheets also should contain written instructions or notes to help draw all the design's details. Here's a side view of SpongeBob Squarepants...
One of my first scenes to animate was from a Slappy Squirrel episode where Slappy was in court and being confronted by a lawyer named Stephen Wolf. In this case, the character was only used in one episode and we were given only one modelsheet. The Lead Animator had to figure out how the character was drawn, so the Assistant Animators would know the correct way how to draw the character . Below is the original turnaround modelsheet of this character.
Here's a construction model and the easiest way to draw it...
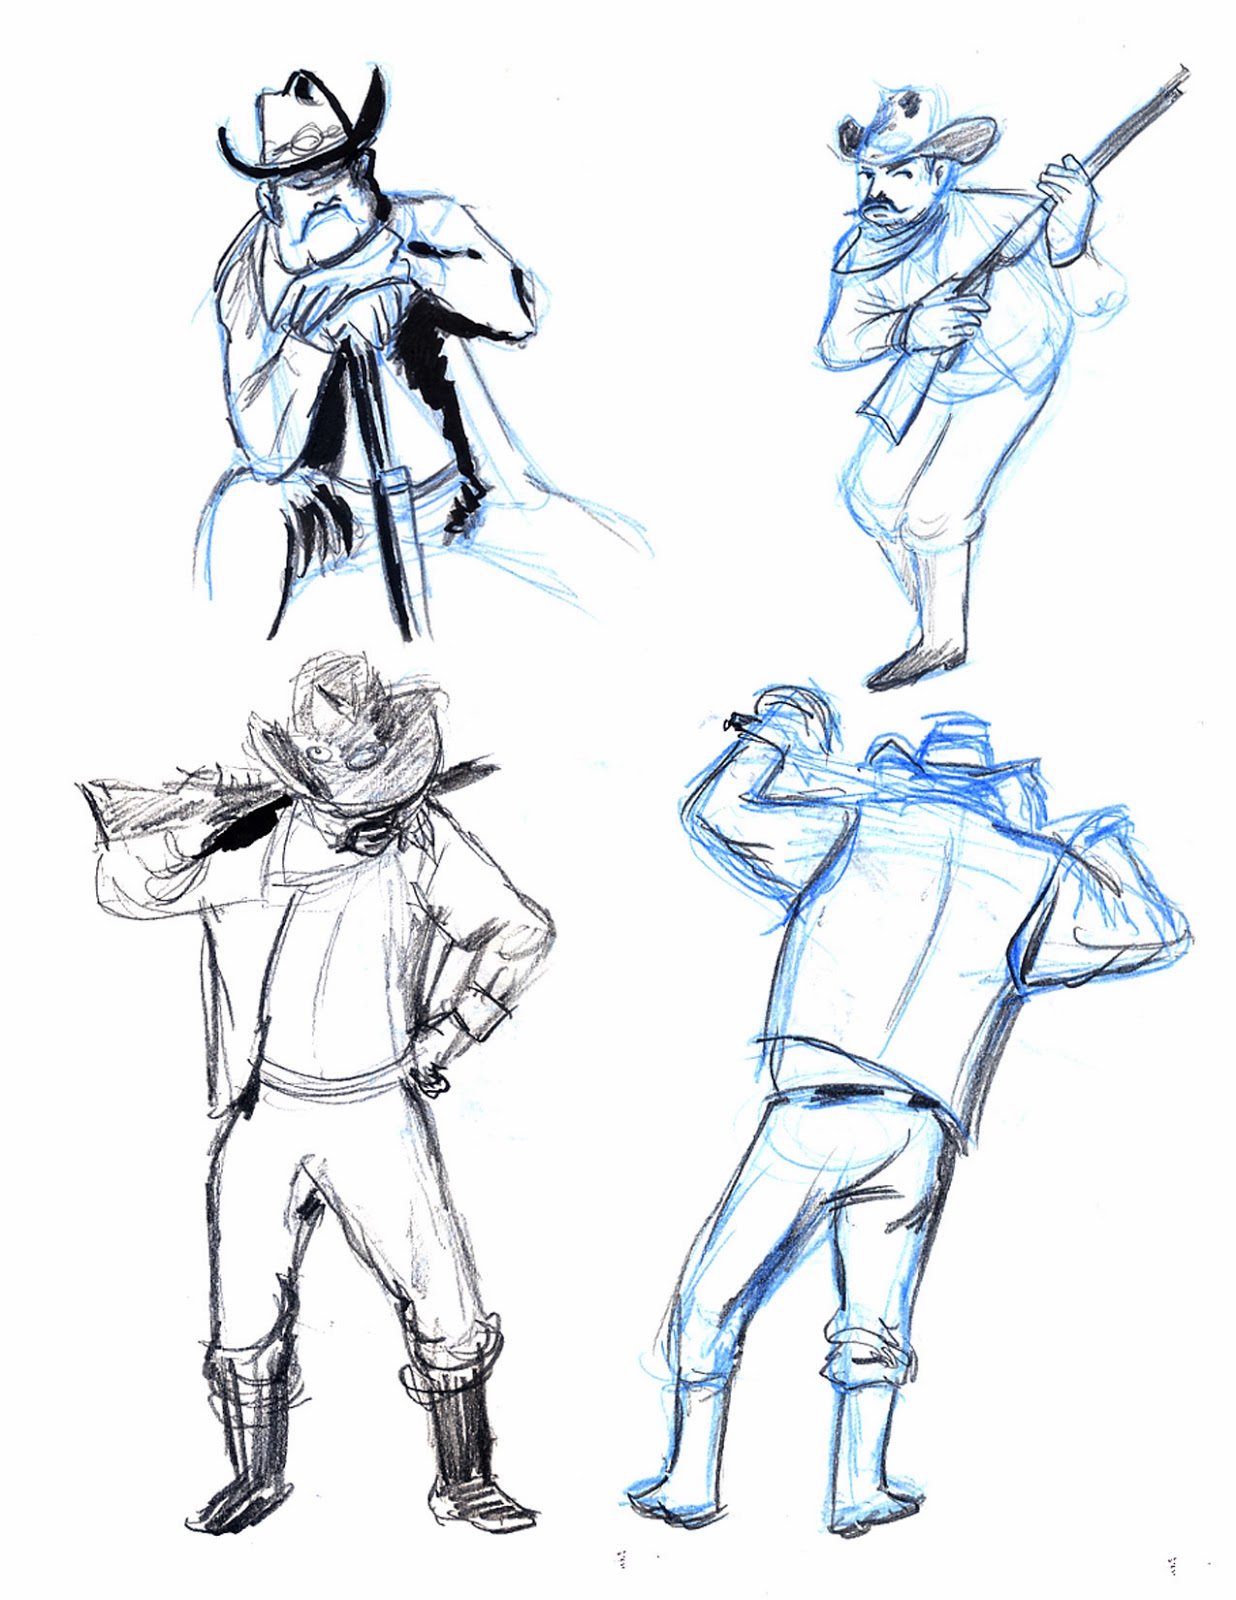
Expression Modelsheets are used when showing how the character should look in different emotional states or poses. These can be made from actual scenes in production when the character design has been established, can be either full body poses or facial expressions. Here are a variety of expression modelsheets...
Comparison Modelsheets are used for comparing the sizes of different characters in a cast.
And so, did you ever figure out what facial feature was missing from the Animaniac Construction modelsheet?
Yakko and Wacko started off clean shaven with smooth faces and in a very interesting blog by Rob Lammle, you'll learn why they were given whiskers on their cheeks. It was to avoid any confusion to a very, well known mouse who lives down the street from Warner Bros.
Another good source for model sheets and background art is Living Lines Library. If you know of any others, please let me know.