Showing posts with label animation exercises. Show all posts

Thursday, December 22, 2016

Walks and Turns

Walks are important for getting a character from point A to point B. It takes some practice to animate a walk properly. Today, TV animation will animate the character taking a step and then cut to a tighter shot of the character from the waist up. The character now can bob up and down as the background pans behind them creating the illusion of walking motion.

Here's a walk with a turn.


Here's a series of walk positions where the character is getting smaller as he is walking away from us. This is a complete 2 step walk which can be repeated and reduced in size to link up to the previous walk series.

http://67.media.tumblr.com/7527cabc2443d550ae18dc1a0d329da6/tumblr_o4qvisfPQk1rc3pqko1_1280.gif

Wednesday, September 14, 2016

Personality Walk

Here's the challenge

Your character enters the scene in an emotional state that your audience will understand, showing who the character is or how they are feeling at the time?

Once you've figured that one out, try having something in the scene before the character enters. Let your audience see it before the character, and when he/she does arrive, show how they react to the thing in the middle of the room. It can be big thing or a small one, living or inanimate.

The ending to this scene is how will your character get around the "thing"? This is the assignment that you need to think about, storyboard some key poses and figure how a simple approach to this situation.

There are a lot of great examples of how to animate different walks in the Animator's Survival Kit by Richard Williams. Study his Key poses and breakdowns to apply those to your character. Here's a link to the book

After getting this assignment, I usually see a group of people silently thinking about what to do next. Its a lot to take in at first, especially if you have never done something like this before. The best place to start is to think about a character in this situation and what is the "thing" that is blocking his path? The thing can be something small like a live mouse or a wallet full of money. How does the character react to this? This is how to character acts and reacts to it.

This scene doesn't have to have a joke at the end or a punchline. Just try to animate a character to show your audience a character personality they might know.

Wants it, Curious about it or doesn't want it all

Rough out some storyboard ideas to show the "thing" in the scene to set up the situation, the character enters showing us what type of person he is. Is he a sad begger, shuffling in or is he a proud upright wealthy person? Whatever the "thing" is, the character must either want it, find it interesting or doesn't want anything to do with it. This is in their reaction to the "thing" and you must let the audience see how they feel about it.

Students tend to fly by this part which is the heart of the scene. Instead, they do a wild take and then have the character jump over the object. They don't give enough time to the character's reaction which isn't just in the face, but the body is the driving force and the face is the secondary part. Watch this Flour sack animation, there is no face, but you know how he is reacting to different situations by his body language and attitude. 
Flour Sack Animation test from Ron Zorman on Vimeo.

I often ask students to think about their scene more, perhaps even act it out themselves in front of a mirror or video camera. This saves a lot of drawing sometimes.

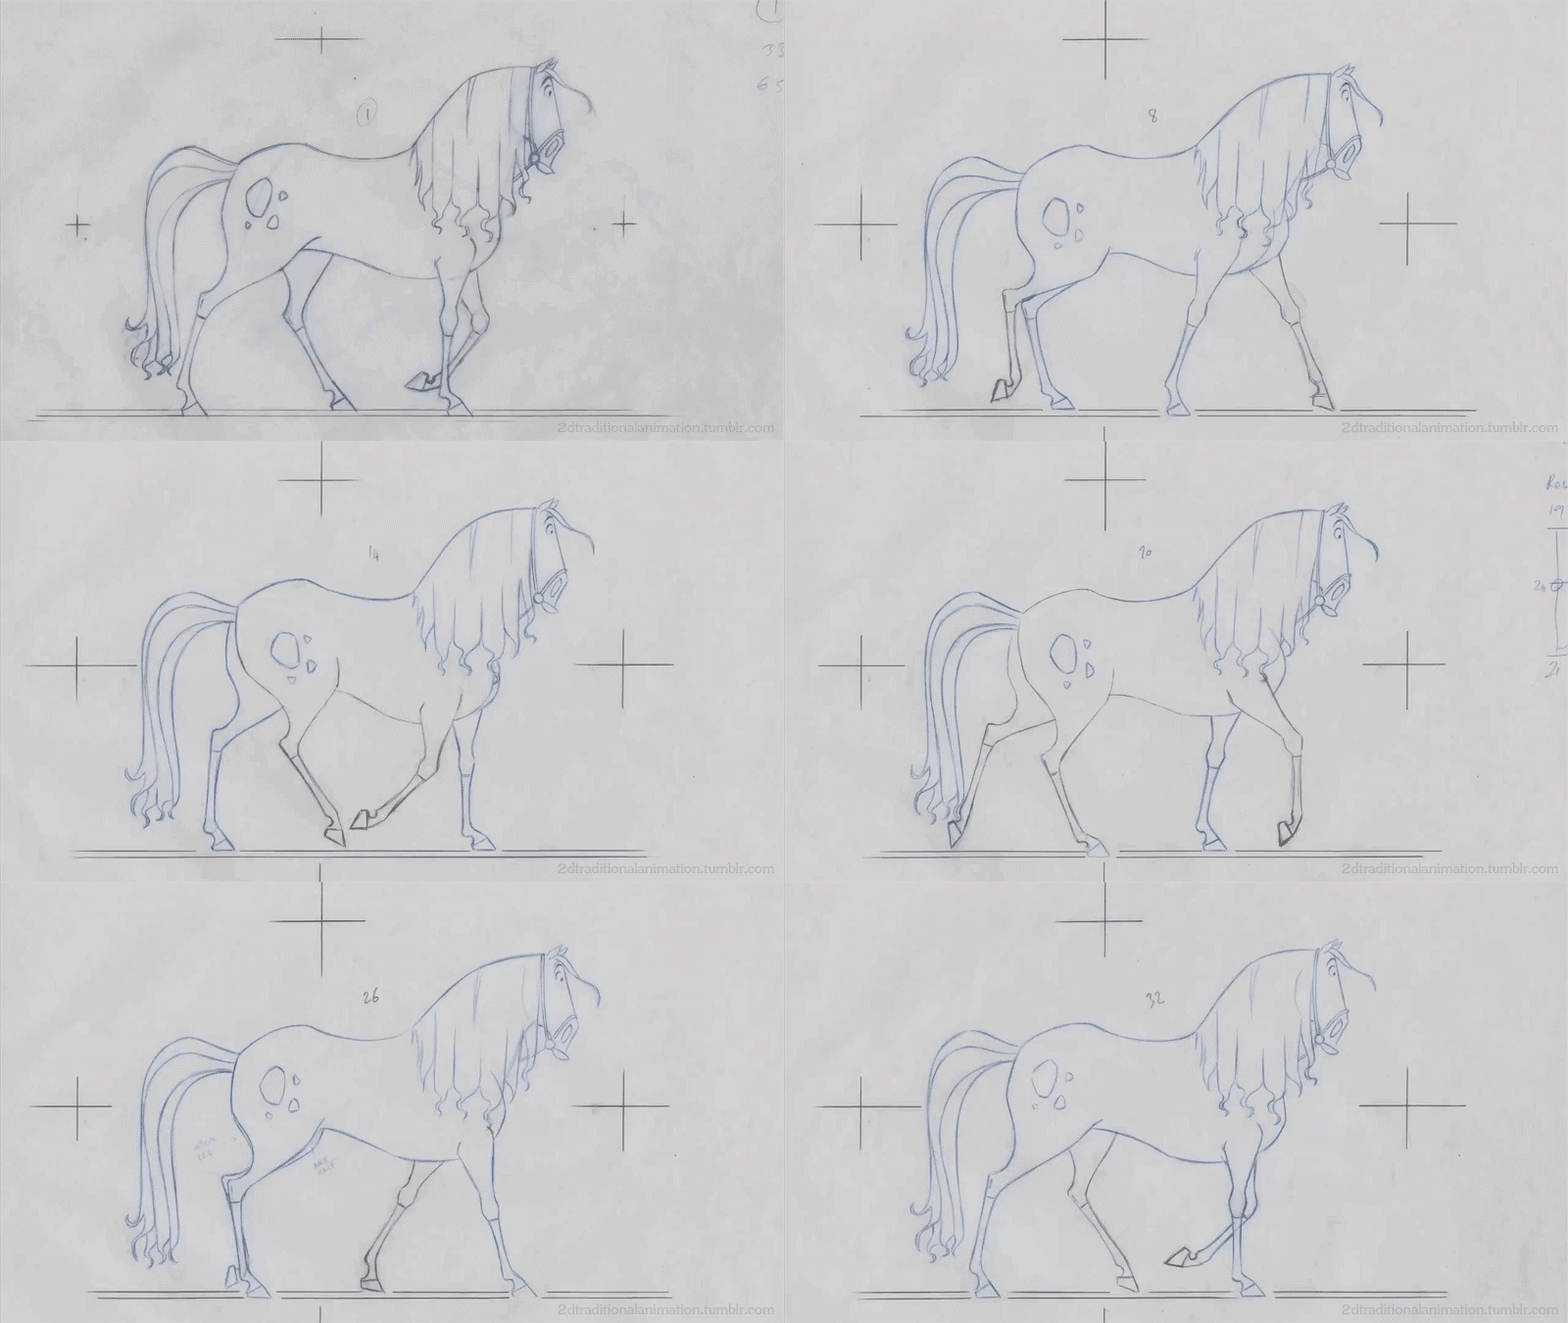
Here's a great amount of animated walks and runs from Disney's "Robin Hood". You want to turn down the sound to study the animation. But here you can see attitude's in motion during their walk or run.


Thursday, September 24, 2015

Bouncing Balls and Weight

The Bouncing Ball exercise uses the animation principles known as:

  • Arcs 
  • Ease Ins and Outs
  • Squash and Stretch


Here is a link about setting up an animation scene. 

For the bouncing ball exercise, we need a path of motion and the Key poses of your Ball. Keep in mind, the smaller the ball size, the more balls you will be drawing. Keep the ball the same size throughout  the scene.

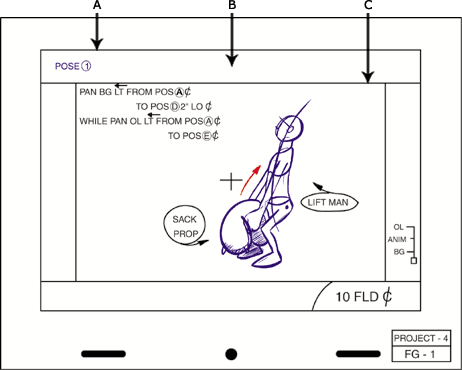
Layout the Scene: Define the Field of view, say a 10 Field.

1) Start with a 10 field size and determine the horizon line. Figure out the Arcs on the Ball's motion path. The Ball will follow the Line of Action.

 Horizon Line is your Background layer or BG. on separate paper.

Put your Line of Action on a separate paper (Layer 1)

Make sure the Line of Action does not have the ball landing on the Horizon line. Keep Ball landing below it to help create dimension.

Add Key Poses of the Ball to your the Path of Action! (Layer 1) 


Breakdowns are the half way drawings between your Key Poses.


As you are setting up these Key drawings, you want the ball to fall and pop up faster by using less drawings and more spacing between those drawings.

When the Ball Arcs upward and the down, the Ball should slow down, more overlapping drawings or less spacing between those drawings.

After the Breakdowns are in place, you can add the inbetweens. Here you can see the animation Spacing and Ease In and Outs in one drawing. To save your sanity for later, Trace your Key Poses and Breakdowns on separate sheets of paper and then
add your inbetweens one piece of paper at a time.

You can then add those Squash and Stretch drawings when the Ball is about to hit the ground (Stretch), hits the ground (Squash) and then Recoils upward (Stretch).

Noticed that the Squash position is the most extreme on the first hit, the Ball looses energy and on the second Arcs up less then the first Arc. Students always Squash the Ball the same throughout the scene, which looks odd because the Arcs are getting smaller, but the Squash poses are all the same.
This occurs with the Stretch poses as well, notice above how the first Stretch pose is more extreme than the other Stretch poses. The Ball is loosing energy and speed, and so less Stretch is needed.


Squash and Stretch are used to exaggerate a drawing to speed up or slow down motion or how an object in motion reacts when it hits something. In real life, Squash and Stretch happens very quickly and can be seen with high speed photography. 

Watch the Tennis and Golf ball below to see the squash and stretch.


Even a hard surfaced Golf ball squashes and stretches.

Squash and Stretch helps the audience understand what the ball is made of. The more squash and stretch, the more rubbery the ball will appear.
Be sure to keep your Squash and Stretch poses with the same volume as the original Ball. If the SS poses are too small or big, it will look odd.  

Here's the Bouncing Ball... 


Wait! Wait!!  What about Weight?

Can you draw two Ball drawings of the same size, but show the audience they have different weight?

By using spacing and timing as well as Squash/Stretch,  you can show the differences in a lightweight ball and a Heavy ball bounce side by side. The Lite weight ball is more bouncy with more squash and stretch, while the Heavy ball falls faster and has less bounce, with no squash/stretch. Even a heavy bowling ball will have a slight bounce and vibrate to an abrupt stop.


Always test, revise your drawings and reshoot your work. Use your exposure sheet to write down the final timing for the final animation.